
Relevant to this article, we have identified some items you might need to replace. We offer them for sale here.
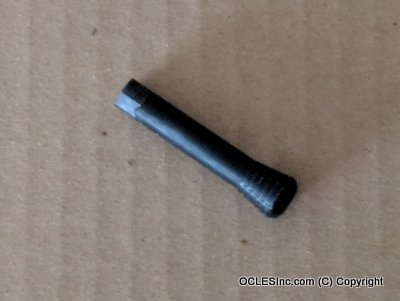
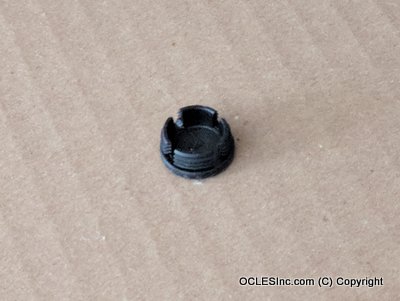
Step 1: Turn and remove the pull knob
By hand, we turn and remove the pull knob.
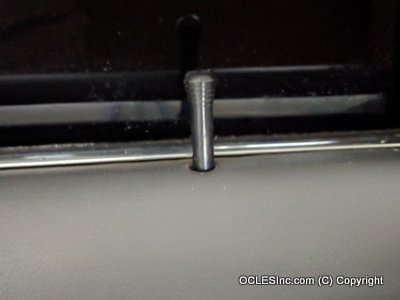
After removal:
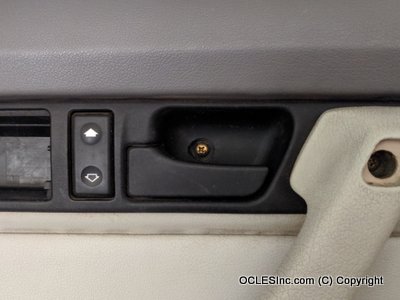
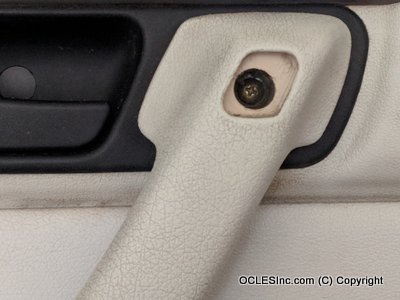
Step 2: Pry free the cosmetic cap behind the interior door handle
We use a straight pick to pry free the cosmetic cap behind the interior door handle.
Caution: It is easy to scratch this part, or the surrounding area.
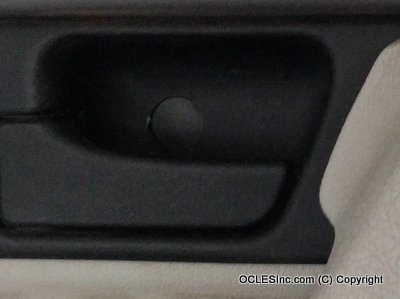
After removal:
The door hollow, after removal of the cosmetic cap:
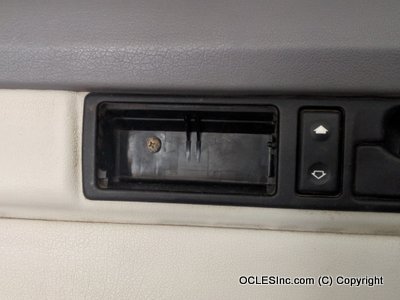
Step 3: Pry free the armrest cosmetic cap
We use a straight pick to pry free the cosmetic cap on the armrest.
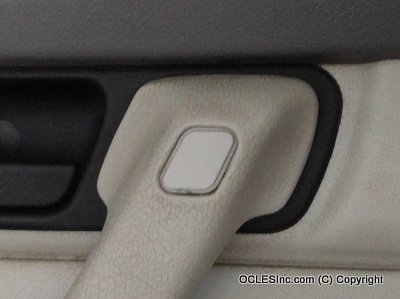

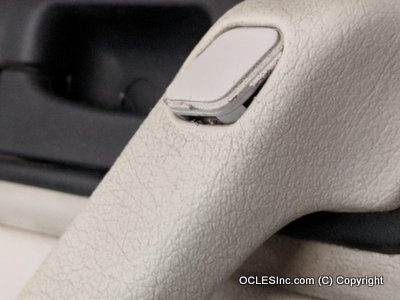
The armrest, after removal of the armrest cosmetic cap:
Step 4: Pull free the ashtray
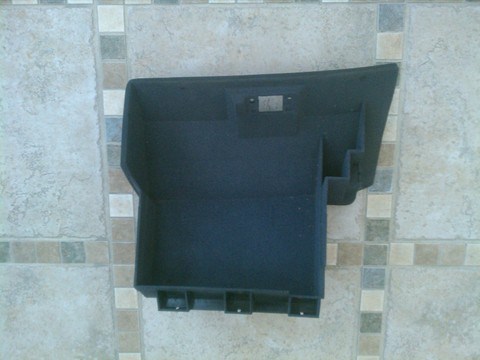
The door panel after removal of the ashtray:
Step 5: Remove the three screws
We use a medium Phillips screwdriver to remove the three screws just uncovered:
- Inside the interior door handle hollow
- Inside the armrest
- In the ashtray area
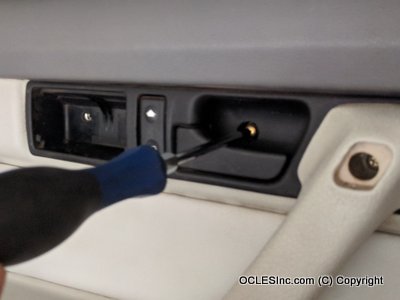
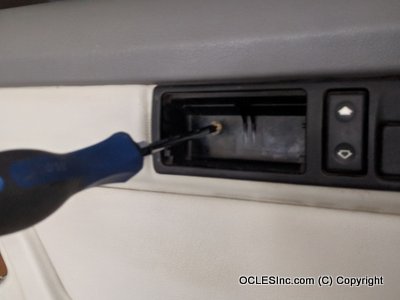
After removal:

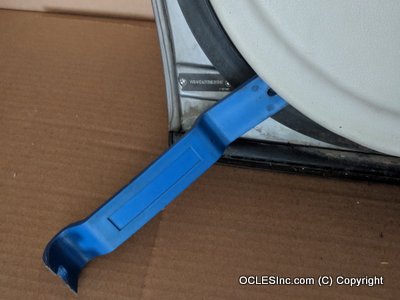
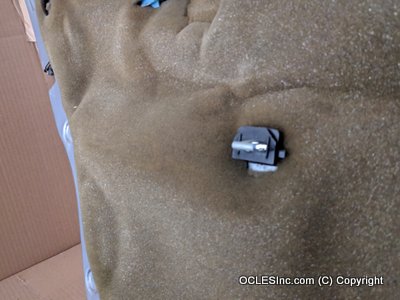
Step 6: Push free the plastic clips
We use a non-marring pry tool to push free each of the nine plastic clips attaching the trim panel to the painted metal of the door: three at the front, three at the bottom, three at the rear.
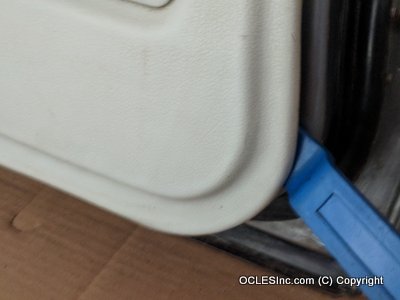
The bottom, front and rear sides each have anchors that can easily break loose of the panel, so we reach in with the pry tool and push away each clip, instead of yanking the panel away from the door.
A view of two of the clips and anchors:

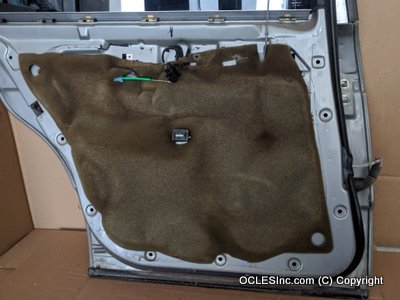
This picture of the door, after removal of the trim panel, shows the holes where each of the nine clips fits into.
Below is a picture of what you are trying to avoid: the black plastic anchor was pulled free of the door panel because someone pulled on the panel, instead of focusing on the clip and prying the clip free.
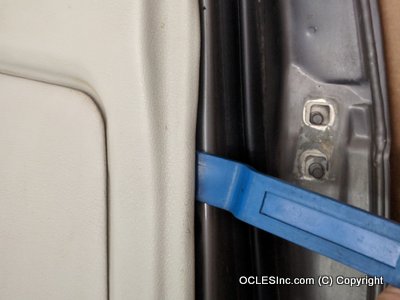
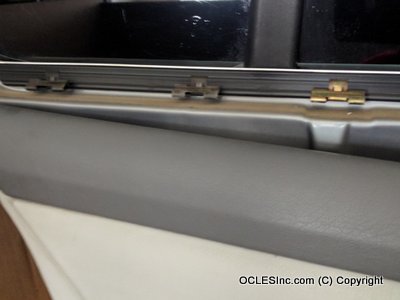
Step 7: Push away the top of the door panel
We use a non-marring pry tool to push away the top of the door panel from the row of metal clips by the window. This picture shows the clips, after the door panel has been lifted free.
Step 8: Lift upward the door panel
By hand, we lift upward the door panel from the central support.
Attached to the center of the door panel is a metal bracket that rests on a black plastic support attached to a metal tongue that is firmly attached to the metal of the door. For this reason, we pull the door panel up, to free it.

Step 9: Detach the window switch wiring
By hand, we detach the electrical wiring plug that goes to the window switch. The picture shows the back of the switch after the wiring plug has been detached.
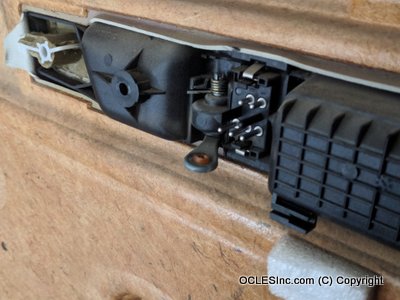
Step 10: Detach the cable hook
By hand, we detach the cable hook attached to the back of the interior door handle.

We can now put aside the trim panel, since this frees it up.
Step 11: Remove the white clips
Sometimes the attachment clips need to be removed and replaced. We use the medium flat-bladed screwdriver, stuck inside a slot of the clip, to rotate and push to an angle each of the white clips.
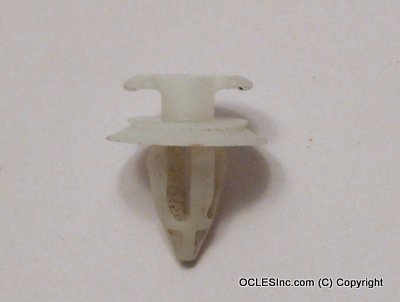

Caution: A badly damaged clip can take ten minutes to remove, so patience pays off in avoiding damage.
Success!
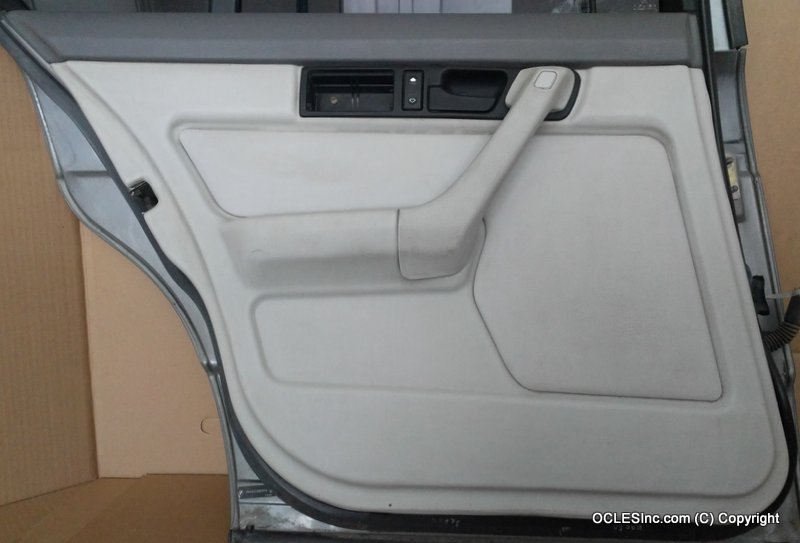
At the end of this procedure, we have removed the door trim panel, with the electric window switch, interior door handle and armrest still attached.
Do you need any of the items discussed in this article? We offer some for sale here.

You must be logged in to post a comment.